
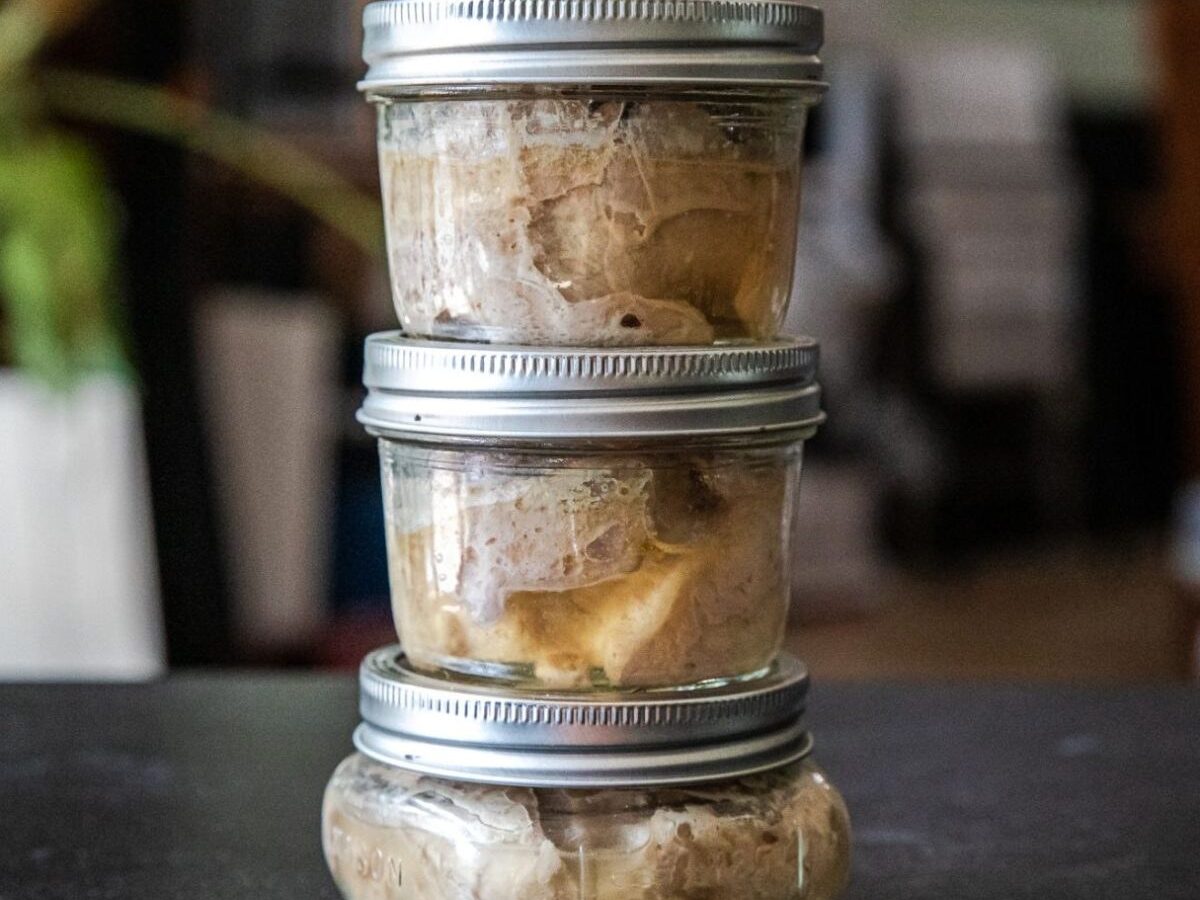
Pressure Canned Albacore Tuna offers deep, clean flavor, long shelf life, and complete control over how your fish is preserved. Using a stove-top pressure canner to seal tuna in its own juices produces a meaty, versatile pantry staple without fillers or added oils. Whether you have fresh-caught albacore or bulk tuna loins, pressure canning is an efficient and rewarding way to store high-quality protein for months.
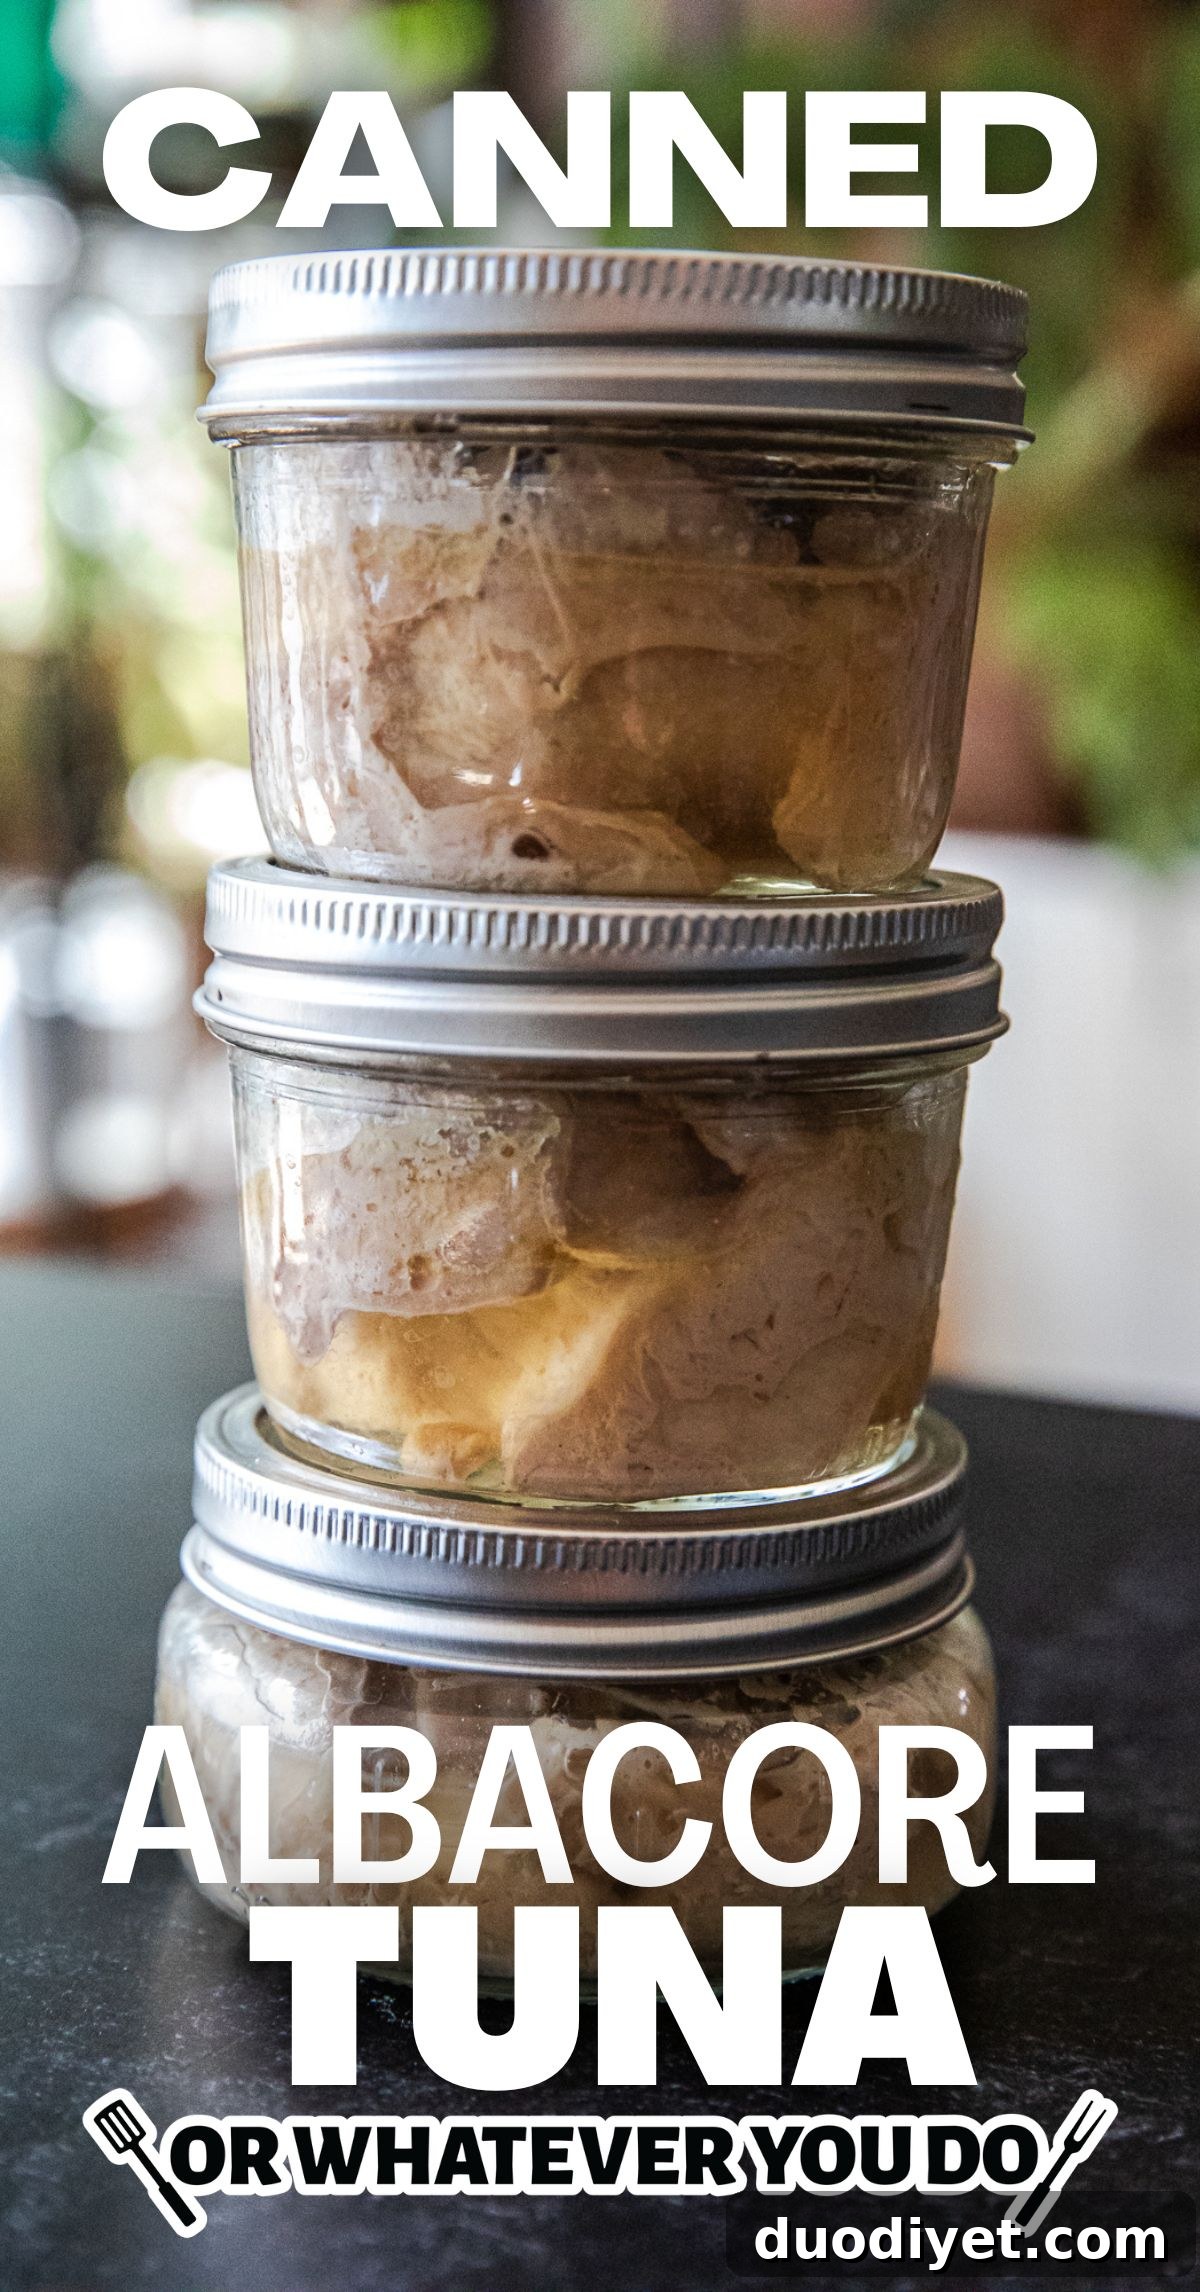
Pressure Canned Albacore Tuna
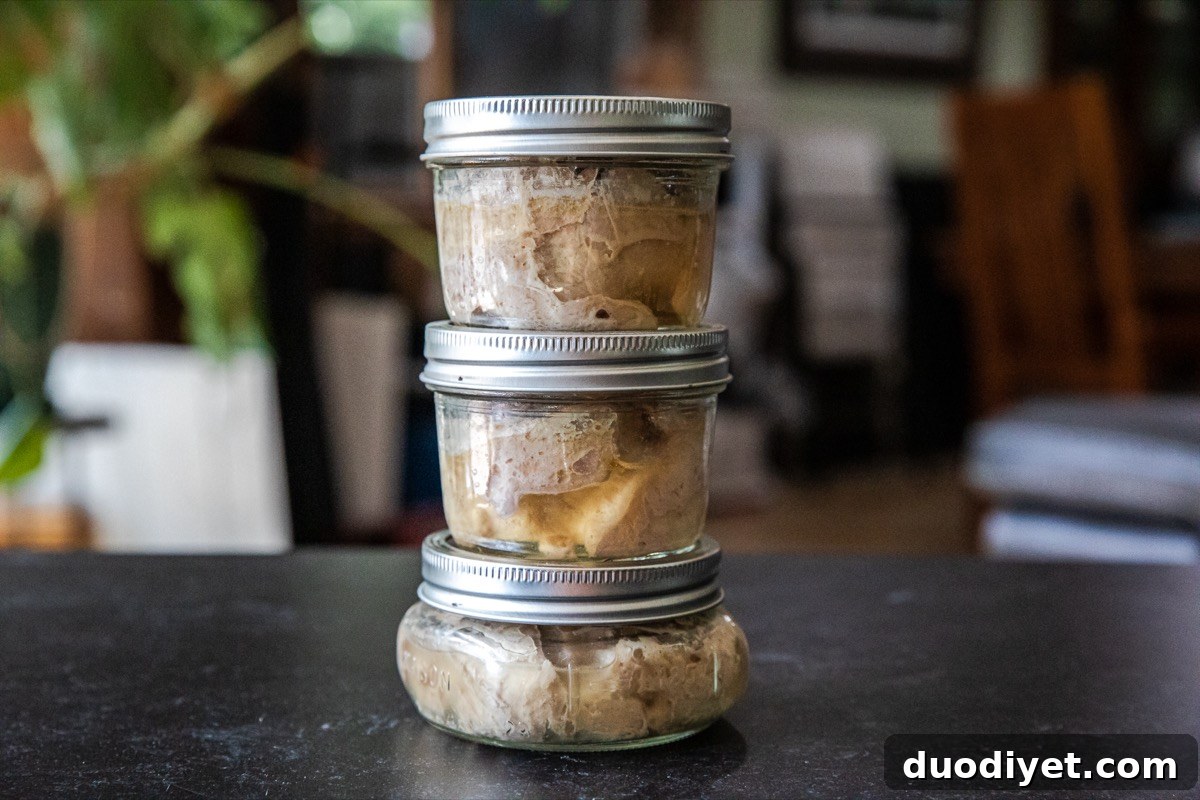
Home canning preserves the natural taste and firm texture of albacore without unnecessary additives. This method packs the tuna raw into jars and pressure-cooks it until tender. No additional liquid is required; the fish releases flavorful juices during processing, yielding clean, rich tuna ideal for sandwiches, salads, pasta, and quick meals.
This recipe is designed for small batches using pint jars so you get manageable portions. Because tuna is a low-acid food, a tested stove-top pressure canner is essential for safety. Electric pressure cookers and appliances labeled for general cooking or “canning” that do not meet USDA canning standards should never be used for pressure canning. Likewise, water bath canning cannot reach the temperatures needed to safely preserve fish or other low-acid proteins.
Sanitizing equipment, keeping steady pressure, and ensuring jars seal properly are key steps. The process is hands-on but straightforward, and once jars are cooled and sealed they will keep well in a cool, dark place for at least a year and often longer.
Why You’ll Love This Dish
- Pure Flavor: No oils, broths, or fillers—just the taste of tuna preserved in its own juices.
- Shelf-Stable Protein: Properly processed jars store for a year or more, great for emergency prep or everyday convenience.
- Custom Portions: Use half-pints or pints depending on how you plan to use the tuna.
- Superior Texture: Firm, meaty flakes that work well in both hot and cold preparations.
- Cost Effective: A practical way to preserve fresh-caught or bulk-bought albacore; coastal anglers or market shoppers often find great prices on tuna loins.
Recipe Shopping List
You likely won’t need many ingredients. Quantities for this batch are in the recipe card further below.
- Fresh albacore tuna loins – Trim away skin, dark bloodlines, and any damaged areas for best flavor and appearance.
- White vinegar – A small amount added to the canner water helps prevent mineral deposits and clouding on jars and lids during processing.
- Water – For the canner base only; do not add to jars.
How To Make This Recipe
Below is a clear overview of the process. Follow the full recipe instructions when you are ready to can.
Equipment
- 6 pint jars (standard home canning size)
- 6 new lids and reusable rings (new lids are required for safe seals)
- Stove-top pressure canner rated for home food preservation
- Prep the Tuna: Keep the fish cold until you are ready to process. Trim skin, dark bloodlines, and bones. Cut the tuna into pieces that fit your jars, leaving ½–1 inch of headspace.
- Sanitize Jars: Wash jars, lids, and rings in hot, soapy water. Keep jars warm until filling to prevent thermal shock; you do not need to pre-sterilize the jars because processing will sterilize them.
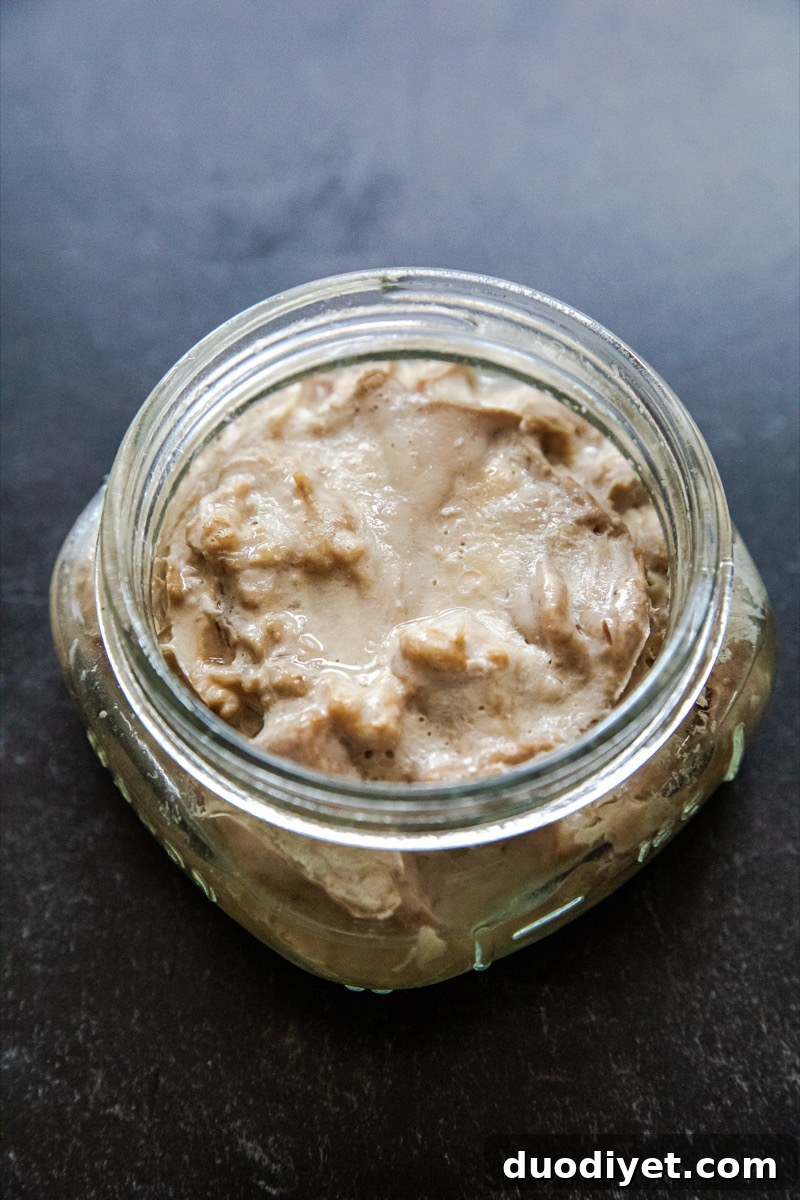
- Pack the Tuna: Tightly pack raw tuna into jars, leaving the recommended headspace. Do not add liquid—tuna releases its own juices during cooking.
- Seal and Load: Wipe jar rims clean, place lids on jars, and screw rings on fingertip-tight. Place jars in the canner on the rack. Add 2–3 inches of water to the canner and a small amount of white vinegar to reduce mineral spotting.
- Process Under Pressure: Vent steam for 10 minutes before closing the vent. Bring the canner to the correct pressure for your altitude and maintain it. Process pint and half-pint jars for 100 minutes.
- Cool and Store: Turn off the heat and allow pressure to return to zero naturally. Wait a few minutes, remove the lid away from your face, then let jars rest in the canner for an additional 5–10 minutes. Remove jars to a towel and cool undisturbed for 12–24 hours. Check seals, remove rings, date and label jars, and store in a cool, dark place.
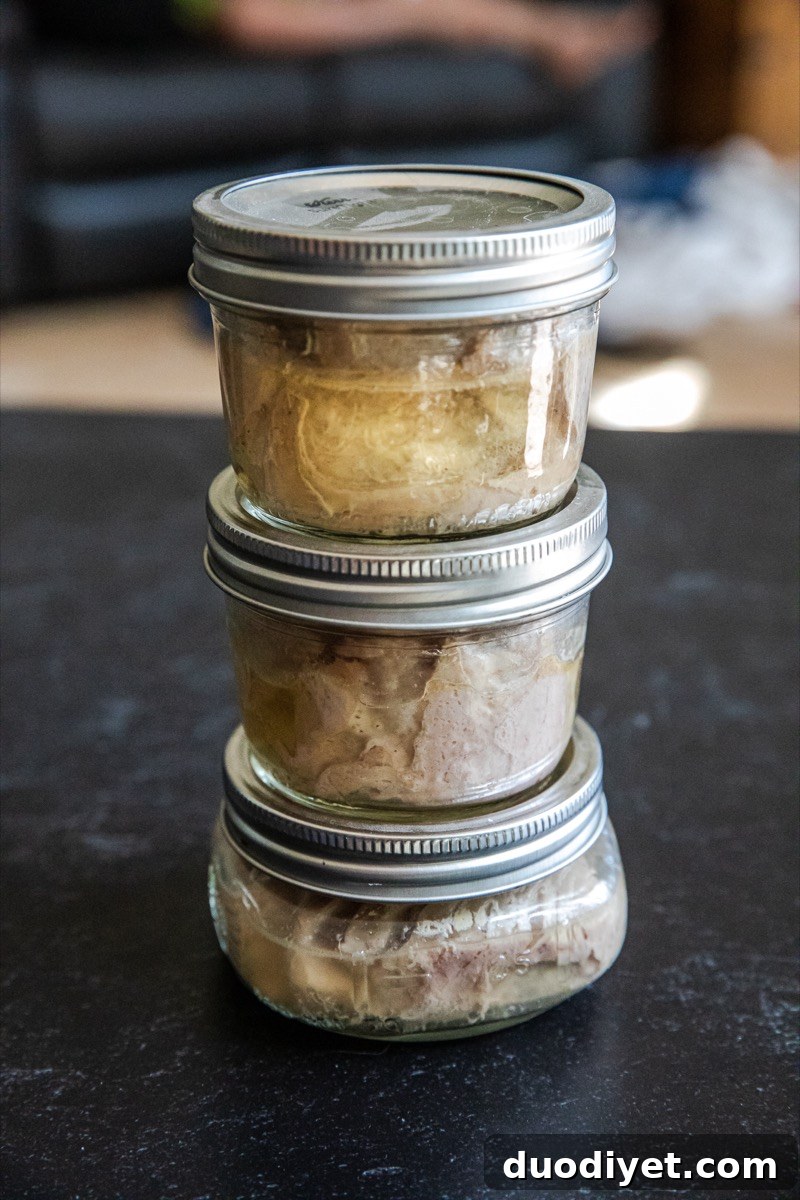
Home Canning Safety Disclaimers
- This recipe follows current USDA guidance for safely canning low-acid foods.
- Tuna must be pressure canned to eliminate the risk of botulism and other serious food-safety hazards.
- Do not use electric pressure cookers (such as Instant Pot-style appliances) unless the manufacturer explicitly states the unit is approved for USDA-standard pressure canning.
- Do not use a boiling water bath canner for tuna or any meat—it will not reach the temperatures needed for safe processing.
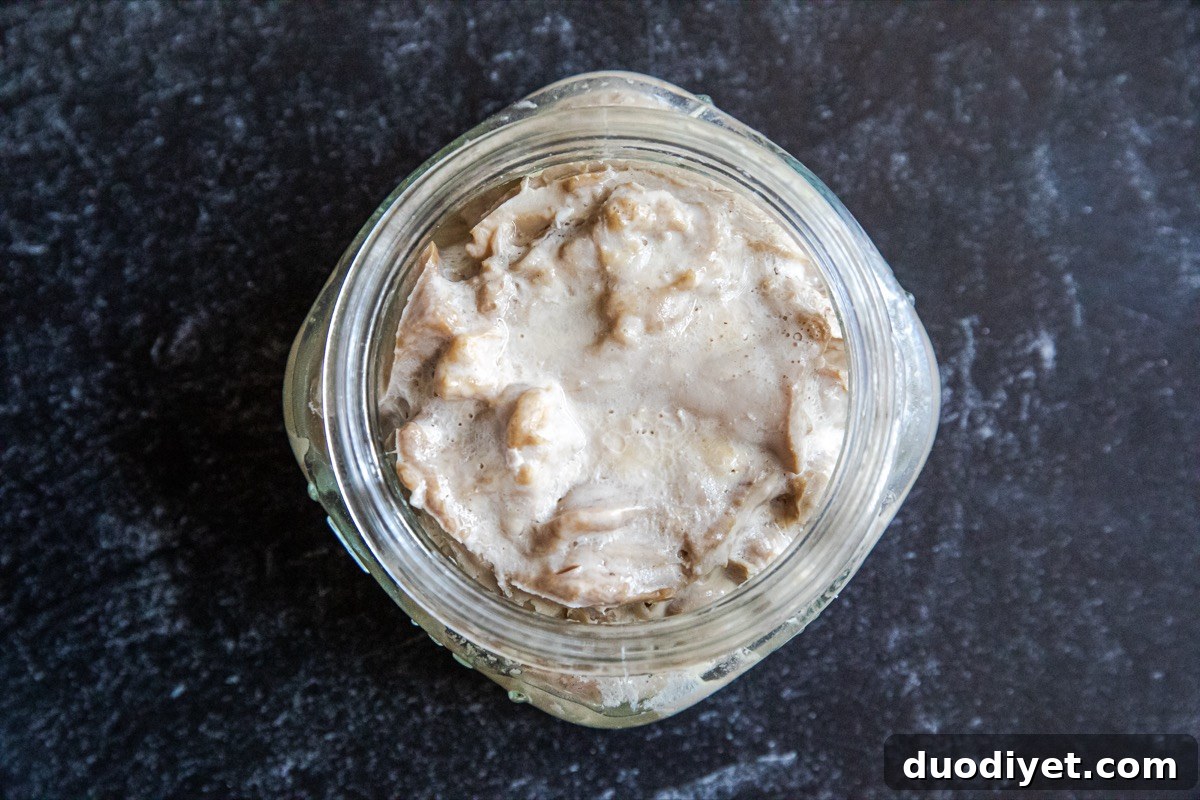
Recipe FAQ
Properly sealed jars stored in a cool, dark place will remain safe and flavorful for at least one year; many jars retain quality for 18 months or longer. Discard any jar that shows signs of spoilage, off-odors, or unsealed lids.
Can I add spices or herbs?
You may add small amounts of salt, dried herbs, or spices, but keep additions minimal. Large quantities of oil, sauces, or certain fresh vegetables can affect heat penetration and compromise safety. If in doubt, add flavorings after opening.
Can I reheat canned tuna?
Yes. You can gently warm the tuna in a pan or use it cold straight from the jar. Do not attempt to reprocess or re-can jars after opening.
Can I prepare the tuna in advance?
Cleaned and cut tuna can be kept refrigerated for up to 24 hours before canning. Keep it well chilled on ice if you will not process it immediately.
Can I substitute other fish?
Firm, low-fat species such as yellowfin or skipjack can be canned using similar procedures, though texture and flavor will vary by species.
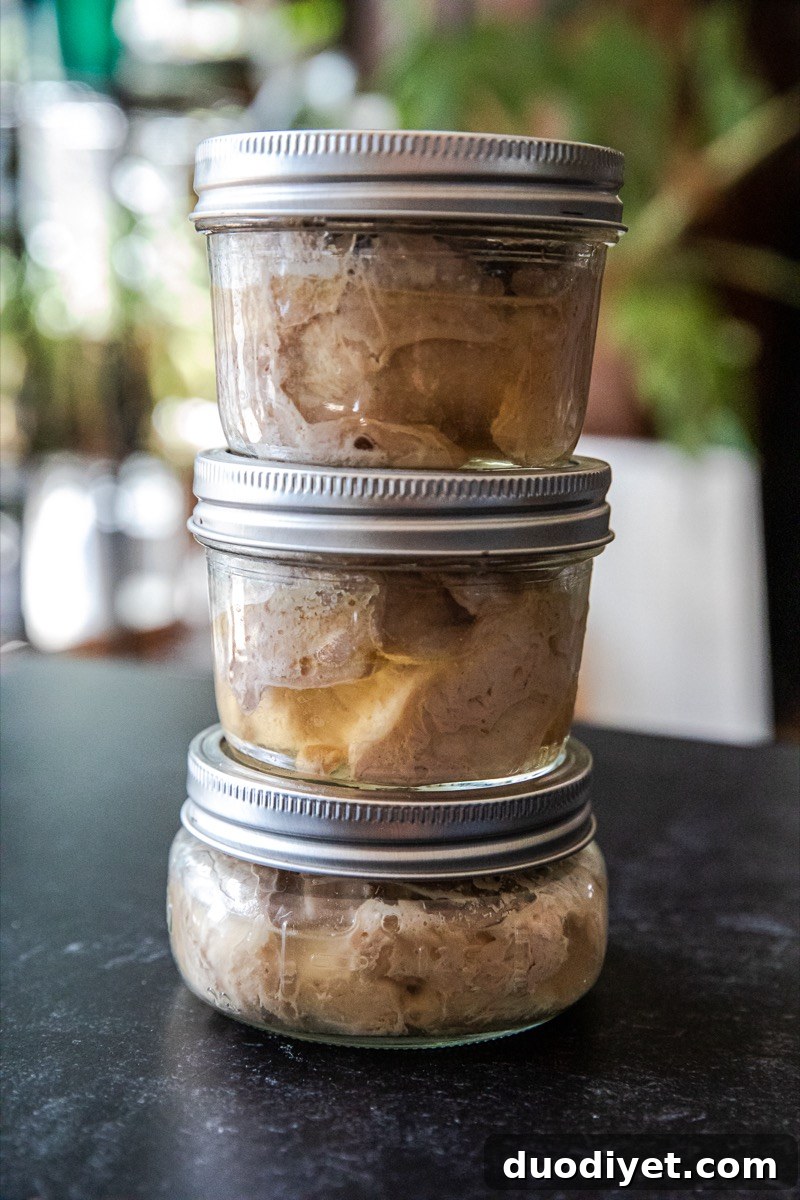
Serve This With…
- Crackers and pickles for a quick, high-protein snack
- Folded into a classic tuna salad with mayo, celery, and herbs
- Tossed with pasta, olive oil, lemon, and capers
- Mixed into rice bowls with vegetables and a splash of soy sauce
Pressure canning albacore tuna is a reliable, cost-effective way to enjoy high-quality preserved fish all year. Once you’ve stocked a few jars, you’ll appreciate the convenience and the bright, clean flavor that home-canned tuna delivers to everyday meals.
Pressure Canned Albacore Tuna
Prep Time: 30 minutes
Cook Time: 1 hour 40 minutes
Rest Time: 10 minutes
Total Time: 2 hours 20 minutes
Ingredients
- 5 pounds fresh albacore tuna loins
- 3 tablespoons white vinegar (for canner water)
- Water (for the canner)
- 6 pint jars with lids and rings
Instructions
- Keep the tuna chilled until ready to process. Trim skin, dark bloodlines, and bones. Cut into pieces that will fit into jars with ½–1 inch headspace.
- Wash jars, lids, and rings in hot, soapy water. Keep jars warm until filling to avoid cracking; processing will sterilize them.
- Pack raw tuna tightly into jars, leaving the recommended headspace. Do not add liquid; the fish will release juices during processing.
- Wipe jar rims clean, place lids, and screw rings fingertip-tight. Place jars in the canner on the rack. Add 2–3 inches of water and 3 tablespoons white vinegar to the canner.
- Vent steam for 10 minutes, then close the vent and bring the canner to the correct pressure for your altitude. Process pint and half-pint jars for 100 minutes.
- Turn off heat and allow pressure to return to zero naturally. Wait a few minutes, remove lid away from your face, then let jars rest 5–10 minutes. Remove jars to a towel and cool undisturbed for 12–24 hours. Check seals, remove rings, label, and store.
Notes
Pressure Guidelines
Altitude | Dial Gauge | Weighted Gauge
0–1,000 ft: 11 PSI | 10 PSI
1,001–2,000 ft: 11 PSI | 15 PSI
2,001–4,000 ft: 12 PSI | 15 PSI
4,001–6,000 ft: 13 PSI | 15 PSI
6,001–8,000 ft: 14 PSI | 15 PSI
Nutrition Information (per serving)
Calories: 273 • Total Fat: 9g • Saturated Fat: 2g • Unsaturated Fat: 6g • Cholesterol: 72mg • Sodium: 74mg • Carbohydrates: 0g • Protein: 44g